How to Use CapCut Creative Suite A Step-by-Step Guide for Beginners

Cantley Perry
Escucha este artículo
In the ever-evolving world of content creation, video editing has become an essential skill for those looking to share their stories, insights, and creativity with the world.
CapCut Creative Suite, a user-friendly online photo editor, has emerged as a popular choice among beginners and experienced editors alike. In this step-by-step guide, we will walk you through the basics of using the CapCut creative suite to help you get started on your video editing journey.
Steps to Follow
Here are the steps that you can follow to understand the entire wording procedure of the CapCut creative suite:
Step 1: Search CapCut creative suite on the Internet
The first step is to search the CapCut creative suite on the Internet. You can find the toolkit on popular app stores like Google Play for Android or the App Store for iOS devices. Once installed, open the toolkit to begin your editing journey.
Step 2: Create a New Project
Upon opening the CapCut creative suite, you will be presented with the option to create a new project. Tap on "New Project" to get started. You can also choose the aspect ratio for your project based on your intended platform, whether it's for YouTube, Instagram, or other social media platforms.
Step 3: Import Your Video Clips
Now it's time to import the video clips you want to edit. To do this, tap on the "Import" button, which will allow you to select video files from your device's storage. You can import multiple clips to create a compilation or edit them one at a time.
Step 4: Arrange and Trim Clips
Once your video clips are imported, you can organize them as you choose an order. Simply drop the clippings with a drag. in the timeline at the bottom of the screen to arrange them as per your storyline. To trim or cut specific sections of a clip, tap on it, and then select the scissor icon to make precise edits.
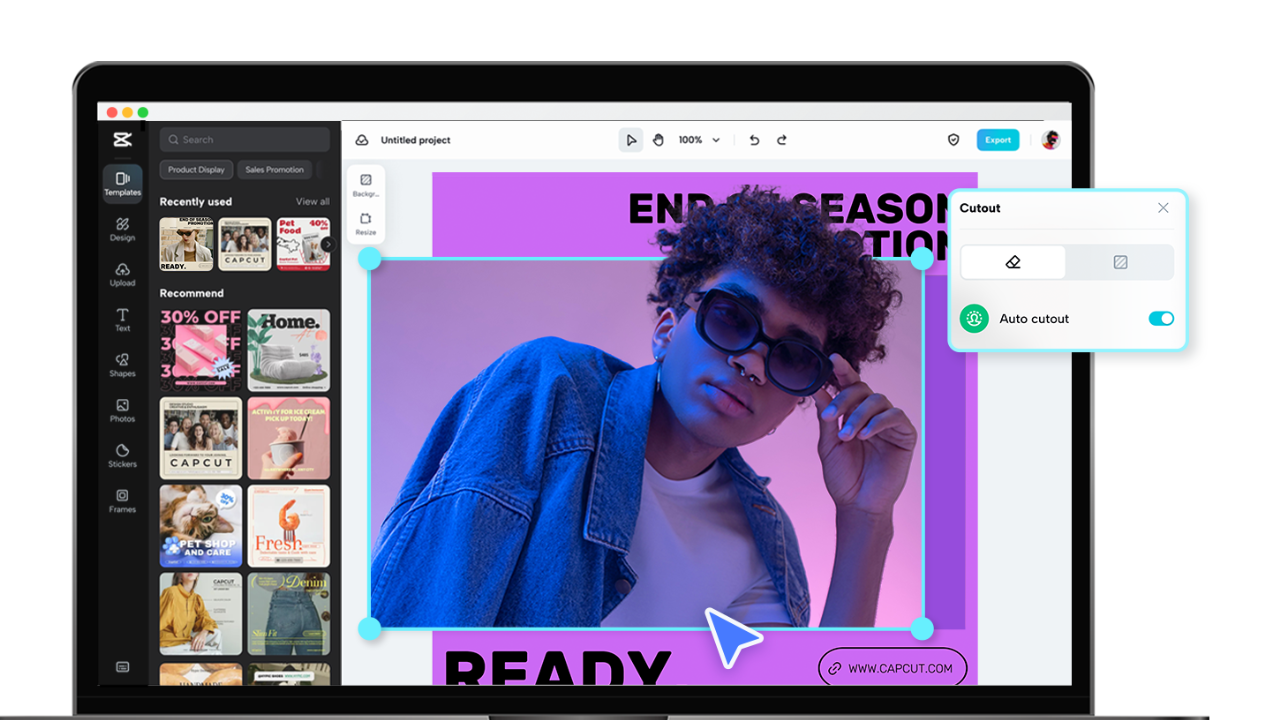
Step 5: Add Text and Titles
To add text or titles to your video, tap on the "Text" option. Here, you can choose from various fonts, styles, and colors to customize your text. Position the text box on the video and type in your desired text. You can also adjust the text duration to control how long it appears in your video.
Step 6: Apply Transitions and Effects
CapCut's creative suite offers a variety of transitions and effects to enhance your video. To apply transitions between clips, select the transition icon between two clips in the timeline. Additionally, explore the "Effects" tab to add filters and visual effects to your clips.
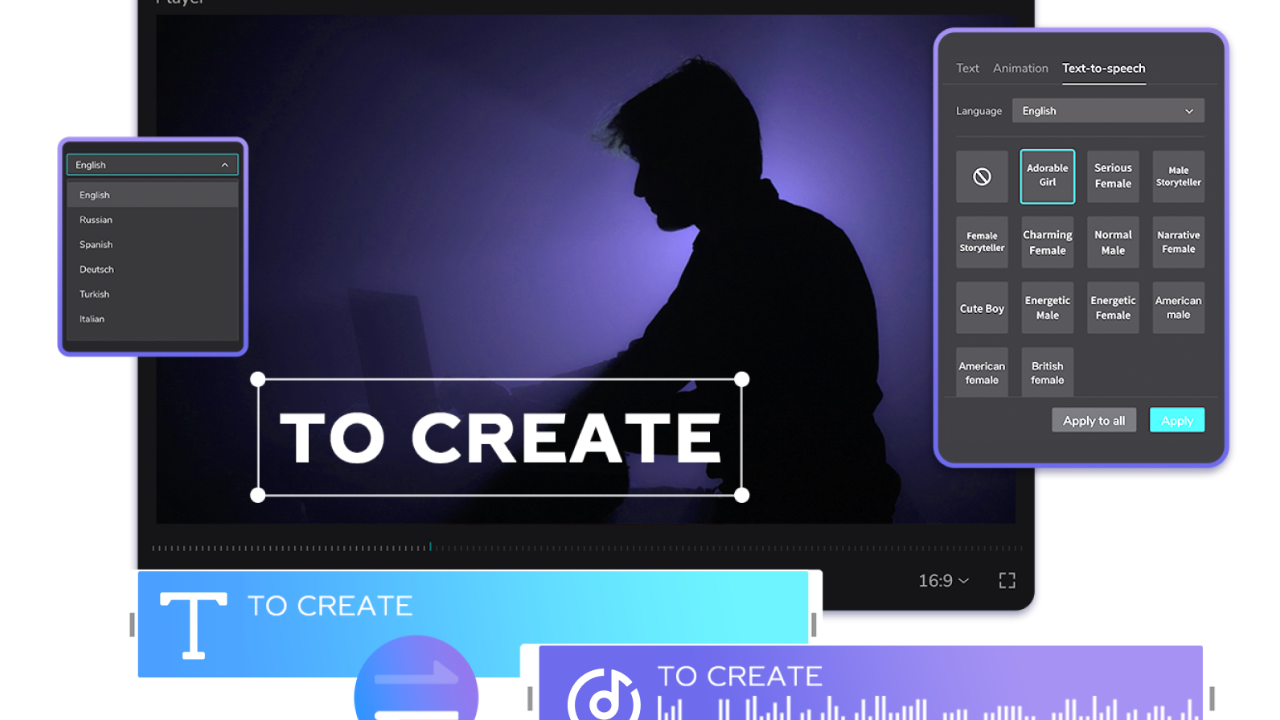
Step 7: Incorporate Music and Audio
To add music or audio to your video, tap on the "Music" option. You can choose from CapCut Creative Suite's music library or import your music files. Adjust the audio volume and timing to match your video content. You can also use CapCut creative suite's text to speech feature to add voiceovers if needed.
Step 8: Use Stickers and Animations
CapCut Creative Suite provides a wide range of stickers and animations to add creativity to your videos. You can explore the "Stickers" and "Animations" tabs to find the right elements to include in your project. Place them on your video and adjust their duration and size as desired.
Step 9: Export Your Video
Once you've completed your editing and are satisfied with the result, it's time to export your video. Tap on the "Export" button, and you'll have the option to choose the video resolution and quality. Select your preferences and tap "Export" to generate your edited video.
Step 10: Share Your Video
With your video now exported, it's ready to be shared with the world. You can share it directly on social media platforms or save it to your device for future use. CapCut creative suite provides easy sharing options for various platforms, making it simple to showcase your content.
Tips for Beginners
-
As a beginner, it's a good idea to begin with short and simple video projects to get a feel for the toolkit.
-
CapCut's creative suite offers a wide range of visual effects. Don't hesitate to experiment and find the effects that suit your style.
-
CapCut creative suite has a supportive online community where you can find tutorials, tips, and inspiration from other content creators.
-
Video editing is a skill that improves with practice. Be patient with yourself and keep experimenting to hone your skills.
Conclusion
CapCut Creative Suite is a versatile and user-friendly tool for beginners looking to dive into video editing. With the steps outlined in this guide, you can start creating captivating videos that showcase your creativity and storytelling abilities. Whether you're a budding vlogger, an aspiring filmmaker, or just looking to share your experiences, the CapCut creative suite provides a toolkit to bring your vision to life.